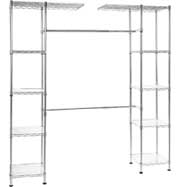
Stacking cans, bottles and boxes in a freestanding pantry cabinet may not be your idea of a relaxing afternoon. But once everything has a home, it’s amazing how much easier meal prep becomes. A simple system—similar to how you’d organize stackable drawers in a closet—helps you see what you own, avoid buying duplicates and squeeze more food into the same small footprint.
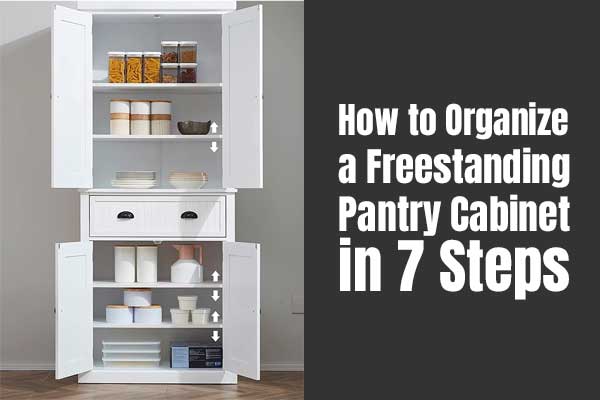
With a little planning, you’ll find what you need faster, reduce food waste and make the most of every shelf. Below are 7 straightforward steps to turn your pantry cabinet into a hard-working, easy-to-maintain storage zone.
1. Sort Your Pantry into Simple Categories
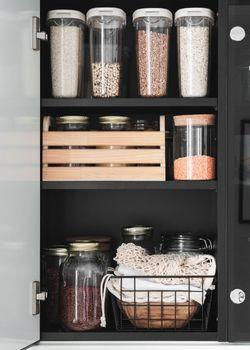
Start by emptying the cabinet and grouping everything into broad categories—very much like how you’d sort clothing in a small walk-in closet makeover. Common groupings include canned goods, pasta and grains, snacks, breakfast items, baking ingredients, condiments, drinks, paper products and backstock (extras of items you use regularly).
Seeing everything laid out at once helps you understand what you actually use, what you overbuy and which categories deserve prime real estate in your pantry.
2. Clear Out Expired or Unnecessary Items
Next, do a quick purge. Toss anything that’s expired, stale or damaged. Donate unopened shelf-stable foods you know you won’t eat. Remove small appliances, serving pieces or random tools that really belong in another cabinet.
This step is similar to the first pass when you declutter a bedroom closet: once the excess is gone, it’s much easier to design a system that fits what you actually use.
3. Use Containers to Create a Simple System
Now it’s time to give each category its own “home.” Place like items together in bins, tubs or baskets. Clear containers or labeled opaque bins work beautifully; you want to be able to glance in and know what’s there without rummaging.
The Dollar Tree and other discount stores are great places to pick up inexpensive bins. Matching containers instantly make the cabinet look more intentional—just like coordinated bins do in a cube organizer inside a closet.
Layer in organizing helpers such as under-shelf baskets, stackable can racks, lazy susans, wall hooks and pull-out baskets. These small upgrades add “bonus” storage and make deep shelves easier to use—just like the add-ons you might use in a closet kit with drawers and baskets.
4. Place Items by How Often You Use Them
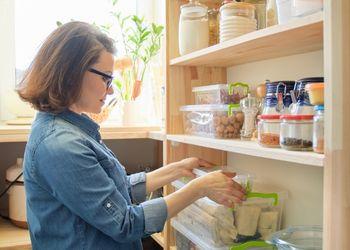
Once you’ve created zones, arrange them by frequency of use. Everyday items—coffee supplies, breakfast foods, frequently used canned goods—should sit at eye level. Kids’ snacks can live on lower shelves they can reach safely. Backup items, specialty ingredients and rarely used gadgets can move higher or toward the back.
Think “grab-and-go” in the center, “nice-to-have” at the top and bottom. This simple shift keeps your most-used categories from getting buried behind less important items.
5. Use the Top of the Cabinet for Extra Storage
If you’re working with a freestanding kitchen cupboard, the top surface is prime real estate. Use large, attractive baskets, crocks or lidded jars to hide bulkier, seldom-used items like paper towel backstock, extra entertaining supplies or seasonal serving pieces.
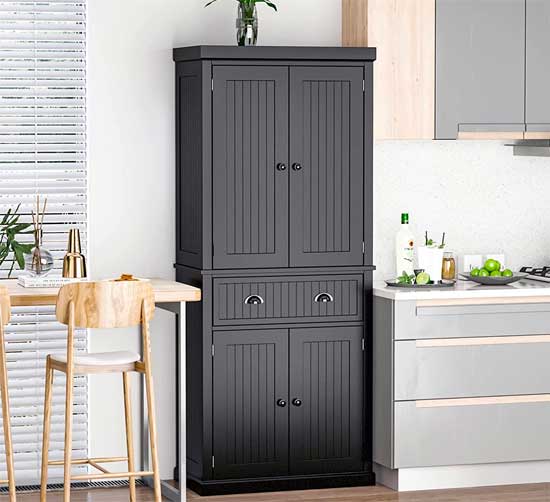
Need more room than one pantry can offer? Consider using two matching pantry cabinets. One can hold food staples in the kitchen, while the second lives in the dining area for dishes, linens and entertaining pieces—similar to how you’d zone storage in a small entryway closet makeover.
6. Don’t Forget the Inside of the Doors
Freestanding pantry doors are a hidden gold mine. Add simple adhesive hooks for aprons, lightweight utensils, bag clips or small cleaning tools. If the doors are tall and sturdy enough, hang an over-the-door organizer to corral spices, packets, wraps and foil. This works much like the door storage you might use in a space-saving dorm setup—it keeps small items visible and off the shelves.
7. Keep Clutter from Sneaking Back In
To keep your “new” pantry from reverting to chaos, give yourself a little overflow zone elsewhere. Use a garage shelf or utility cabinet to store large warehouse packages, drinks or long-term backup items. Rotate into the kitchen pantry as space opens up.
And remember, the same principles that work in your wardrobe apply here too. Regularly skim your shelves for items you no longer use, and follow the same simple routines you’d use when tackling a closet refresh: also see How to Declutter Your Closet for step-by-step ideas you can adapt to any storage space.